DIY Home Improvement Projects: Step-by-step guides for common home improvement tasks like painting, plumbing, and electrical wor
Why DIY Home Improvement Projects Are Worth Exploring
DIY home improvement projects are not just about saving money—they’re an empowering way to transform your living space while learning valuable skills. With the rising cost of professional services, more homeowners are taking on tasks themselves, from painting a room to fixing a leaky faucet or even tackling basic electrical work.
By diving into DIY home improvement, you can enhance your home’s value, customize spaces to your liking, and achieve a sense of accomplishment that comes with completing a project on your own. This article offers step-by-step guides for common tasks to help you get started, ensuring that even beginners can confidently handle basic home improvements.
Understanding the Basics of DIY Home Improvement
How to Choose the Right Project for Your Skill Level
When considering a DIY home improvement project, it’s crucial to assess your abilities. Start with tasks that require minimal tools and expertise, such as painting walls or replacing light fixtures. As you gain confidence, you can progress to more advanced projects, like plumbing repairs or installing new flooring.
The Importance of Preparation
Before starting any project, preparation is key. Gather necessary materials, familiarize yourself with safety guidelines, and create a plan. For instance, if you’re painting a room, ensure the surface is clean, select the right type of paint, and have tools like rollers, brushes, and painter’s tape ready.
Painting Walls: A Step-by-Step Guide
Tools and Materials Needed
Paint (appropriate for the surface)
Rollers, brushes, and painter’s tape
Drop cloths to protect furniture and floors
Sandpaper and primer for prep work

Steps to Success
Prepare the Area: Remove or cover furniture and lay down drop cloths. Use painter’s tape to protect edges.
Clean and Sand the Surface: Wipe down walls to remove dirt and grease. Sand rough areas for a smooth finish.
Apply Primer: Use a primer to create an even base, especially on previously unpainted surfaces.
Start Painting: Begin with corners and edges using a brush, then use a roller for larger areas. Apply even strokes for consistency.
Let It Dry: Allow the first coat to dry completely before adding a second layer for a polished look.
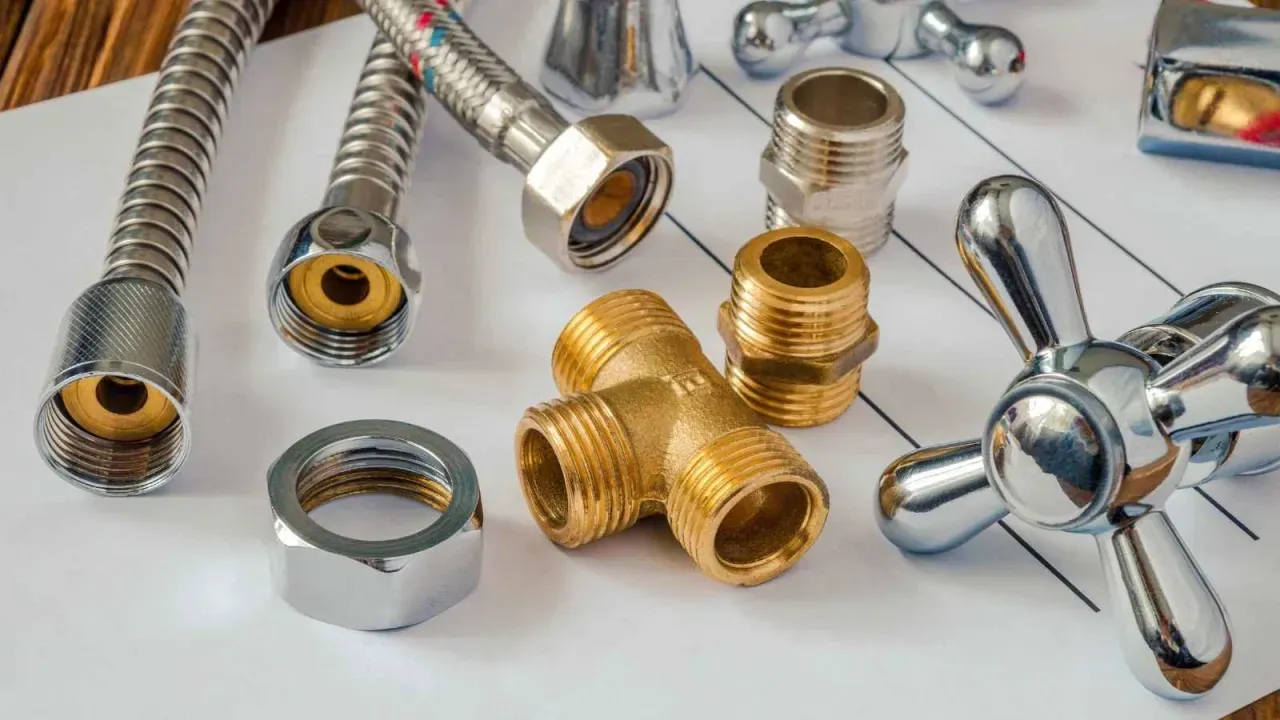
Plumbing Fixes: How to Stop a Leaky Faucet
Tools and Materials Needed
Adjustable wrench
Replacement washers or cartridges
Screwdrivers
Plumber’s tape

Step-by-Step Instructions
Turn Off the Water Supply: Locate the shut-off valve under the sink and turn it off to avoid water spillage.
Disassemble the Faucet: Use a screwdriver to remove the handle and expose the valve.
Replace Worn-Out Parts: Identify the damaged washer or cartridge and replace it with a new one.
Reassemble the Faucet: Put the parts back together in the reverse order and secure them tightly.
Test for Leaks: Turn the water supply back on and check if the issue is resolved.
Tackling Basic Electrical Repairs: Replacing a Light Fixture
Tools and Materials Needed
Screwdrivers
Voltage tester
Wire nuts
New light fixture
Steps to Follow
Turn Off the Power: Switch off the circuit breaker for the room you’re working in to ensure safety.
Remove the Old Fixture: Unscrew the fixture and disconnect the wires, using a voltage tester to confirm no current is present.
Install the New Fixture: Connect the wires from the fixture to the electrical box, matching wire colors. Secure with wire nuts.
Attach and Test: Mount the fixture and restore power to test the installation.
Tips for a Smooth DIY Experience
Safety First
Always wear protective gear, such as gloves and goggles, and follow safety guidelines for each project.
Invest in Quality Tools
High-quality tools can make your work easier and more efficient. Consider investing in a basic toolkit that includes a drill, screwdrivers, pliers, and a level.
Take Your Time
Rushing through projects often leads to mistakes. Plan your time carefully and work at a comfortable pace.
Final Thoughts on DIY Home Improvement
Taking on DIY home improvement projects can be both rewarding and cost-effective. By starting with manageable tasks like painting, plumbing, and electrical work, you can build your skills and confidence over time. Whether your goal is to refresh your living space or tackle necessary repairs, the guides above provide a solid foundation to get started.
Don’t wait—begin your DIY journey today, and enjoy the satisfaction of a job well done. Have a project idea or experience to share? Drop a comment below or share this article to inspire others!


